Why pick Shadow Shaman?
Pick Shadow Shaman when your team needs reliable single-target lockdown and a way to push towers without creeps.
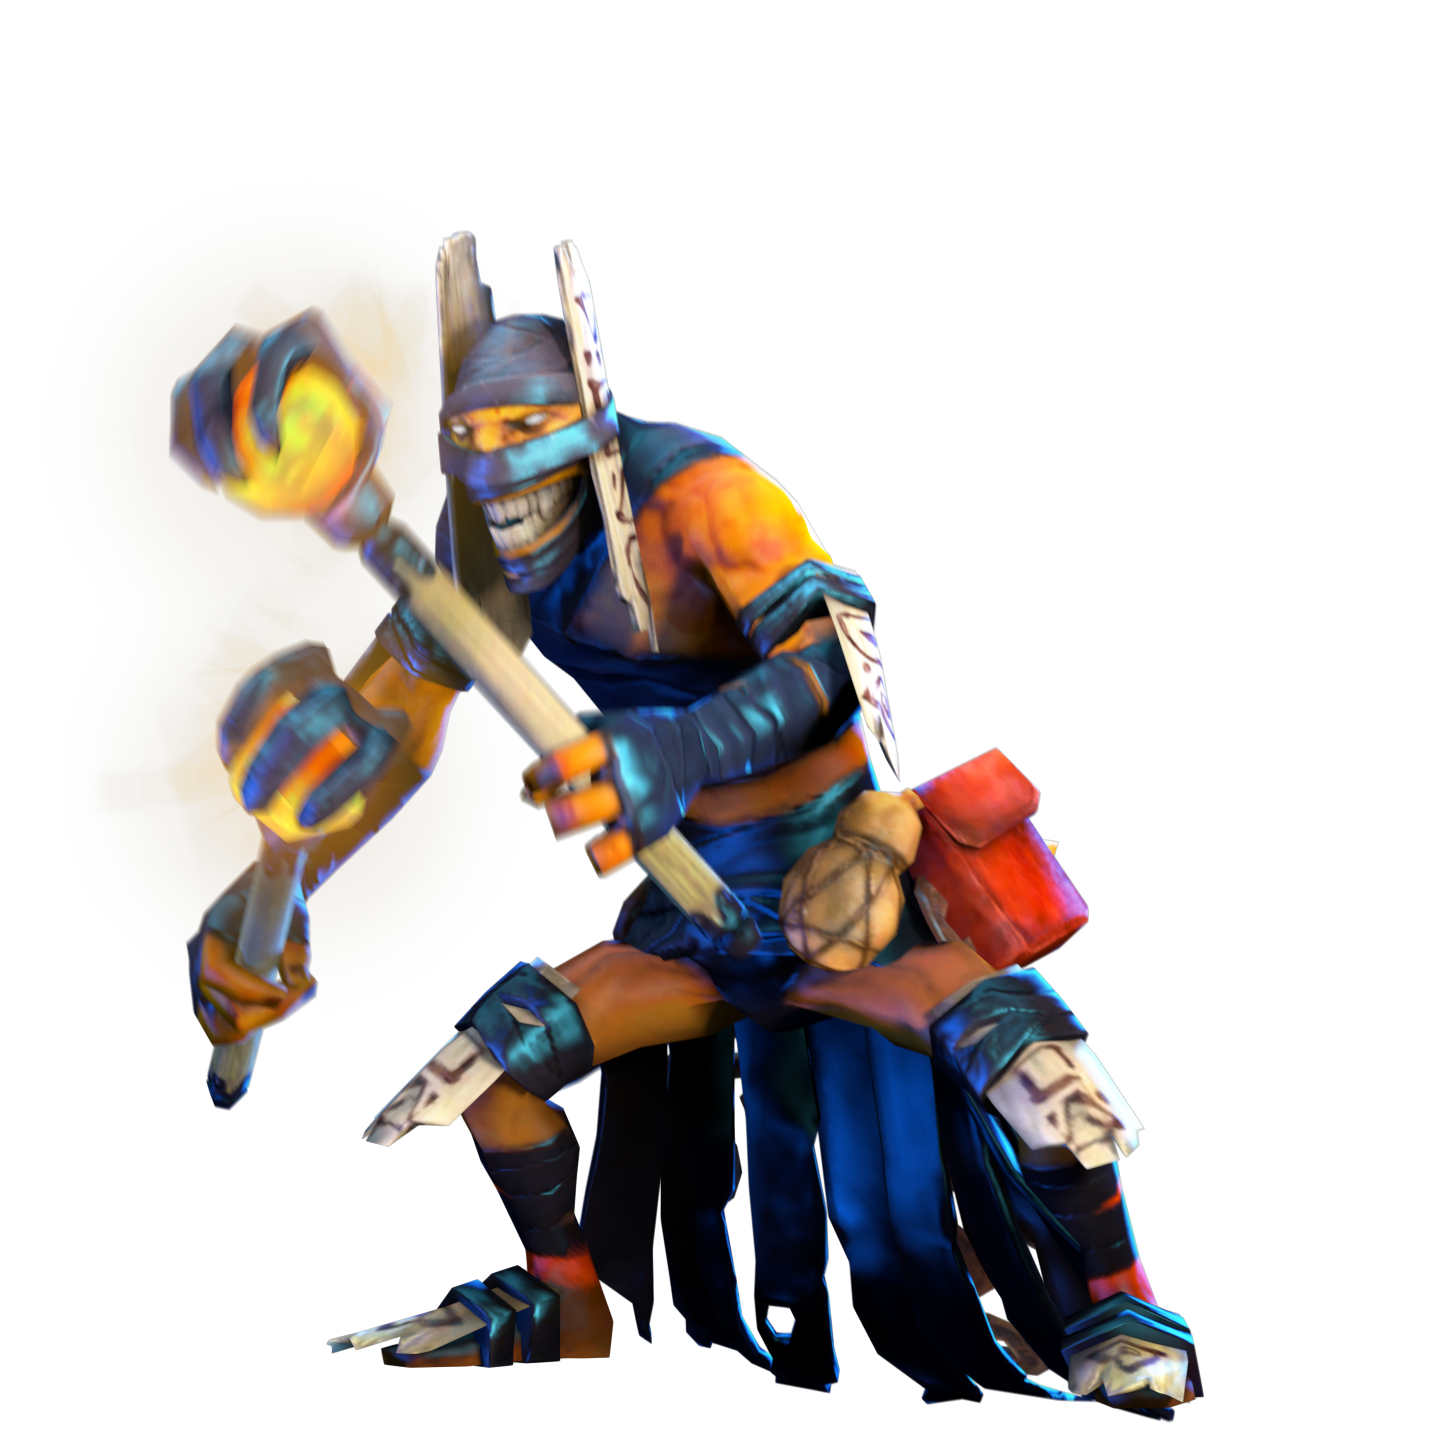
Hex the escape, shackle the target and let the wards take the tower.
Shadow Shaman is a hard support with two hard disables, a bouncing nuke and an ultimate that pushes towers on its own.
 IntelligenceRanged
Pick Shadow Shaman when your team needs reliable single-target lockdown and a way to push towers without creeps.
Avoid him against lineups with several fast gap closers or wide area damage, where he dies before using both disables.
Do not channel Shackles in front of the enemy team. Hex first, stand behind allies, then shackle.
Default position 5 path for a Shadow Shaman who disables from range and pushes with wards.
Harass and keep vision
Move between lanes with regen
Disable from a safe distance
Reach hidden targets
Survive after the combo
Push with stronger wards
Aether LensExtra cast range so Hex and Shackles land from safer ground.Guide ↗
Choose when the enemy dives your carry and the team needs saves more than initiation.
Sustain the lane
Carry detection and regen
Push allies out of danger
Hide the carry from focus
Answer targeted spells
Survive the final fights
Aether LensExtra cast range so Hex and Shackles land from safer ground.Guide ↗
Use when your lineup casts a lot and the team benefits from Arcane Boots and Guardian Greaves.
Harass and keep vision
Restore mana for repeated disables
Cast from farther away
Heal the team after fights
Dispel and heal in one item
Add initiation to the auras
Aether LensExtra cast range so Hex and Shackles land from safer ground.Guide ↗
Pick this when the game plan is to end early through buildings and the wards are your main weapon.
Harass and keep vision
Keep mana for the ultimate
Reach towers with the team
Push faster as a group
Upgrade the wards
Refresh for a second ward ring
Aether LensExtra cast range so Hex and Shackles land from safer ground.Guide ↗
A risky plan for games where Shadow Shaman gets farm and wants to kill targets alone with Hex into damage.
Harass and keep vision
Move between lanes with regen
Reach targets instantly
Add damage to the lockdown
Finish targets alone
Repeat the combo
Aether LensExtra cast range so Hex and Shackles land from safer ground.Guide ↗
These are our editorial build paths. Labels describe their purpose, not measured popularity or win rate. Click an item for its use. Each stage is an inventory snapshot: keep earlier items, use consumables, upgrade components, and replace small items as space runs out. Boots, defenses, and late slots can change with the draft.
More match and build examples: Dota 2 Pro Tracker. Item names and images: Valve.
Our picks, based on how the spells work together.
Hex and Shackles hold a target still so Juggernaut can commit Blade Fury or Omnislash.
A shackled target gives Sven free hits with God's Strength and cleave on nearby enemies.
Shadow Shaman's disables guarantee Light Strike Array and Laguna Blade on the same hero.
Long lockdown lets Phantom Assassin burst a target before it can react.

Shadow Shaman keeps divers away from Drow Ranger and the wards speed up her pushes.
Ball Lightning reaches Shadow Shaman instantly and Electric Vortex interrupts Shackles.

Blink and Sonic Wave punish his low health before he can use both disables.
Meat Hook pulls Shadow Shaman out of position and Rot breaks his channel.
Echo Slam and Fissure destroy the ward ring and interrupt Shackles.
Mana Burn drains his large mana pool and Vendetta finds him in the backline.
These are useful ability interactions, not a statistical ranking or guaranteed matchups. Positioning, items, and cooldowns change the result. Hero links open a full guide when available, otherwise the directory.
Ability references from Valve: Juggernaut · Sven · Lina · Phantom Assassin · Drow Ranger · Storm Spirit · Queen of Pain · Pudge · Earthshaker · Nyx Assassin. Checked 2026-10-13.
 Ether ShockUnit targetFires a bolt of electricity that damages several enemies in a cone.
 HexUnit targetTurns an enemy into a harmless creature with all abilities disabled.
 ShacklesUnit targetChanneled. Binds an enemy in place and deals damage over the channel.
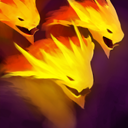 Mass Serpent WardUltimateSummons a ring of serpent wards that attack nearby enemies and buildings.
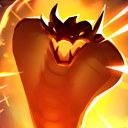 UrnacondaPoint targetRequires Aghanim's Shard. Sends a serpent ward along a path that damages enemies on impact.
 Strength20+2.3 / lvl
 Agility16+1.6 / lvlIntelligence23+3.3 / lvl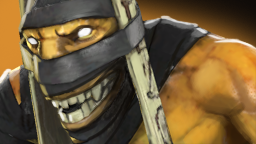
Shadow Shaman is a hard support with two hard disables, a bouncing nuke and an ultimate that pushes towers on its own.
Shadow Shaman is a ranged Intelligence hero. Our recommended role is position 5 support.
Shadow Shaman turns one enemy into a free kill. Hex and Shackles together hold a target for several seconds, Ether Shock adds damage in lane, and Mass Serpent Ward takes towers without a creep wave. Pick him when your team wants reliable lockdown and a way to end the game through buildings. He is fragile and most of his value is spent the moment he commits both disables, so positioning decides whether he survives.
Harass with attacks and Ether Shock when the enemy support trades, but keep mana for Hex. A level-two Hex on the enemy carry lets your partner win the lane outright. Pull when the wave pushes toward you, and buy a Clarity or two so the disables are always ready.
Stay behind your team and pick the target that must not act: Hex the escape hero, then Shackles the second one or the same target if the first disable runs out. Do not channel Shackles while enemies can reach you. Drop Mass Serpent Wards on a hero trapped in your disables or on a tower your team is already attacking.

Boots, Magic Wand and wards cover the lane. Aether Lens is the usual first core because every disable lands from farther away. Blink Dagger follows when enemies hide behind their front line, and Glimmer Cape or Force Staff protect a carry who gets dived. Aghanim's Scepter strengthens the wards for a push-focused game.
Hex is instant and cannot be interrupted, so use it first to stop a spell or an escape. Shackles is a channel and can be broken, so cast it on a hero who is already hexed or far from allies. In that order the target is disabled for the combined duration and your team has time to arrive.
Mass Serpent Ward places a ring of wards that attack anything nearby for a long time. On a tower they deal building damage without creeps; in a fight they punish a hero stuck in Shackles. Place them slightly behind your target so melee enemies have to walk through them to reach you.
Ether Shock hits several targets in a cone, so cast it when the enemy hero stands near their creeps to damage both. Early levels secure ranged creep kills for your carry and chip the enemy. Later it clears a wave before a push so the wards reach the tower faster.
| Detail | What it means in your game |
|---|---|
| Ether Shock | A bolt of electricity that damages several enemies in a cone in front of the target. |
| Hex | Turns an enemy into a harmless creature with all abilities disabled for a short time. |
| Shackles | Channeled. Binds an enemy in place and deals damage over the channel duration. |
| Urnaconda | Requires Aghanim's Shard. Sends a serpent ward on a path that damages enemies on impact. |
| Mass Serpent Ward | Summons a ring of serpent wards that attack nearby enemies and buildings. |
Shadow Shaman is almost always a position 5 hard support. He needs only boots, wards and a few cheap items to be useful, because Hex and Shackles work at any level of farm. His job is to lock down the most dangerous enemy, protect the carry and use the wards for pushes.
Start with regen, wards and Magic Stick, then Tranquil or Arcane Boots and Magic Wand. Aether Lens is the common first core, followed by Blink Dagger for initiation or Glimmer Cape and Force Staff for saves. Aghanim's Scepter upgrades the wards, and Aghanim's Shard adds Urnaconda for extra damage and control.
Yes. His abilities are simple targeted spells, and the combination of Hex and Shackles creates kills even without perfect timing. New players should focus on staying out of range until the fight starts, choosing one target and using both disables on it, and placing wards on towers when the map is quiet.
Mass Serpent Ward is strongest on buildings and on disabled heroes. Use it to take a tower after a won fight or when the enemy is dead, and to add damage on a hero held by Shackles. Place the ring so the target is inside it, and do not use it in open fights where enemies simply walk away from the wards.
 Dark SeerIntelligenceSvenStrength
 TidehunterStrength
 TerrorbladeAgility
 GyrocopterAgilityQueen of PainIntelligence
6 random heroes · Opens the hero directory.

Nature’s Prophet wants cookies. Just a few.